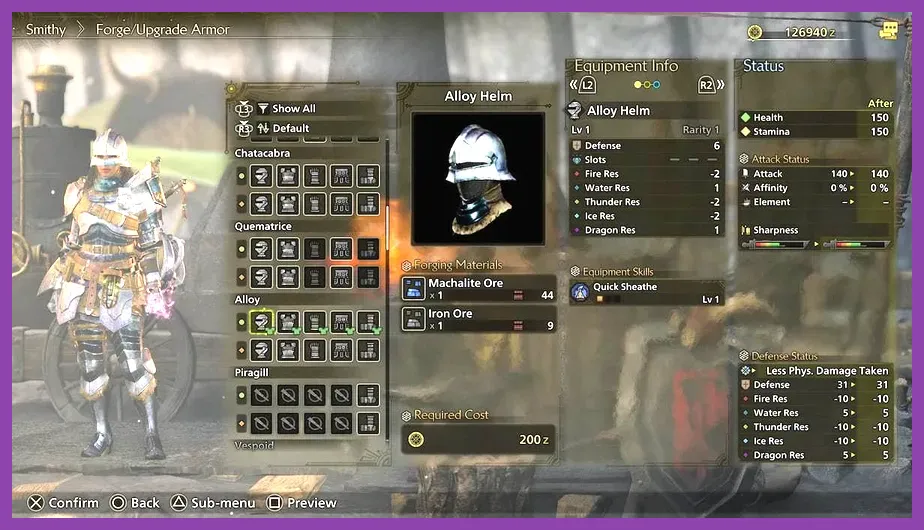
To craft the ultimate early-game loadout in Monster Hunter Wilds, you need to combine the high-mobility Bone Pickaxe+ weapon tree, the Chatacabra Alpha armor set for early Health Boost, and stamina-efficient decoration slots that mitigate resource drain during the Windward Plains exploration. Ditch slow, inefficient setups and master a reliable, high-survivability core build designed to fast-track your progression through the first three major monster ranks.
Choosing Your Starting Weapon: Bone vs. Ore Tree
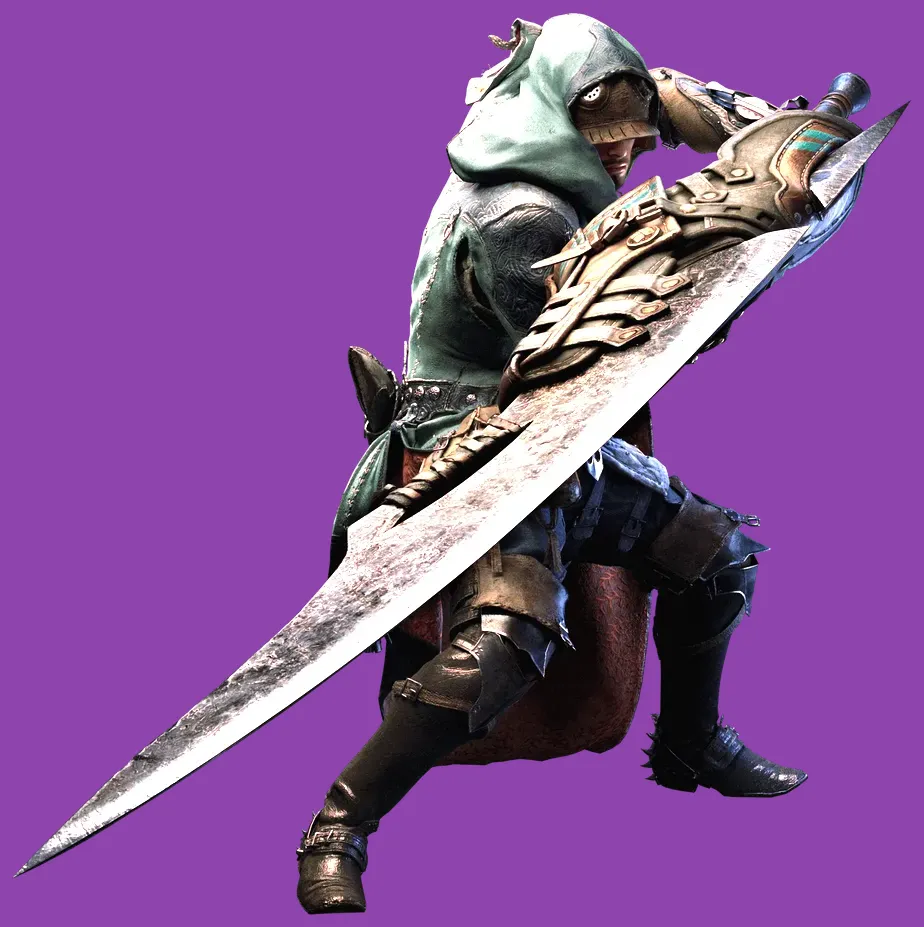
Your weapon choice dictates your entire hunting rhythm in the early hours. When you first reach the base camp, you must decide between upgrading along the Bone Tree or the Ore Tree. For a reliable starting setup, the Bone Cleaver I great sword or Bone Hatchets I dual blades offer significantly higher raw attack power (Attack: 140) compared to their iron counterparts, alongside an easier early material requirement of Small Bone and Monster Fluid.
If you prefer heavy-hitting counter-attacks, stick with the Bone Great Sword to abuse the True Charged Slash windows when monsters are winded. For players coming from games like Final Fantasy 7 Rebirth who enjoy fast action rotations, the Dual Blades allow you to enter Demon Mode quickly, stacking continuous elemental damage while dodging through monster tail sweeps.
Best Early Armor Set: Chatacabra Alpha
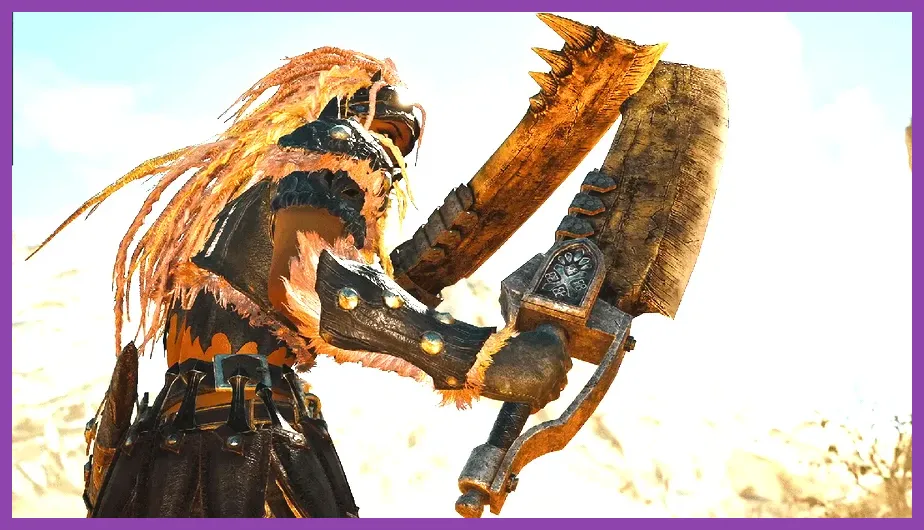
Armor skills define your survivability in Capcom's expansive biomes. Your primary target for the first major hunt is the Chatacabra Alpha set. Crafting this complete set requires Chatacabra Shells, Hide, and Toughclaw components gathered from the muddy riverbeds of the Windward Plains.
- Chatacabra Helm: Grants Health Boost Lv. 1 (+20 Max HP) and Stun Resistance Lv. 1.
- Chatacabra Mail: Provides Attack Boost Lv. 1 and Speed Eating Lv. 1 for rapid potion chugging.
- Chatacabra Braces: Features Constitution Lv. 1, reducing fixed stamina depletion when evading.
- Chatacabra Coil: Adds Water Resistance and basic defense scaling against mud-element attacks.
- Chatacabra Greaves: Supplies Recovery Up Lv. 1, boosting the healing efficacy of Mega Potions.
This combination keeps your defensive baseline high, preventing random one-shots from enraged early-game fauna while you learn monster attack telegraphs. For macro-management strategies similar to Frostpunk 2, keeping your inventory stocked with proper restorative items is just as vital as raw gear stats.
Essential Skill Priorities and Stat Scaling
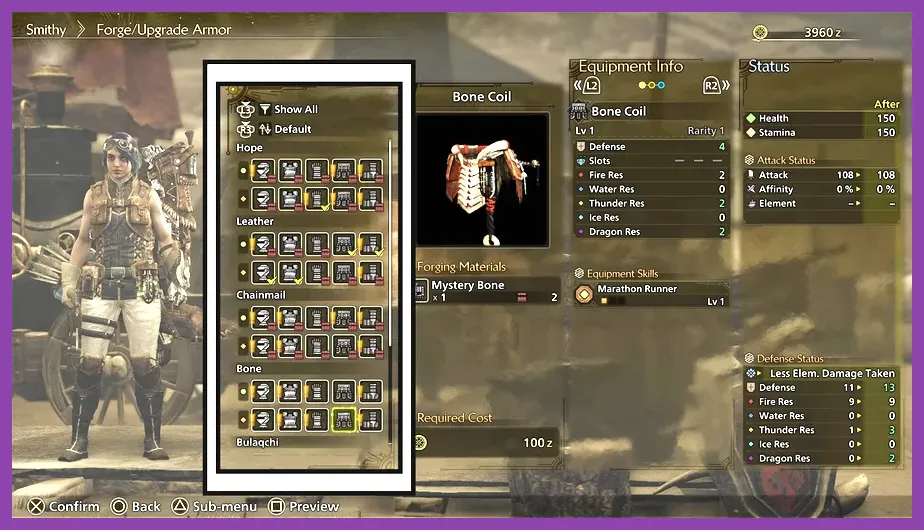
Maximizing your damage output requires understanding how skill points stack in the early game. Avoid spreading your armor pieces across different monster families. Stacking three pieces of the same set activates set bonuses, while individual skill gems (decorations) should prioritize Critical Eye and Weakness Exploit once you unlock slot crafting.
Aim for these specific stat benchmarks before tackling the Rey Dau apex hunt:
- Defense: Minimum 115 total defense rating to survive lightning shockwaves.
- Stamina Management: At least Constitution Lv. 2 or Marathon Runner Lv. 1 to prevent fatigue during extended chases.
- Sharpness: Maintain Green Sharpness using regular whetstone rotations to avoid weapon bounce on armored scales.
If you experience stuttering or frame drops during heavy weather transitions in the dunes, check out this optimization guide to adjust your PC settings for stable 60+ FPS performance.
Combat Rotation and Seikret Synergy

Monster Hunter Wilds introduces dynamic mounts and environmental traps that change how you execute your combat rotations. Your Seikret mount is not just for travel; it is an active combat utility. While riding your Seikret, you can freely sharpen your weapon, consume Max Potions, and craft ammo or flash pods without locking yourself into long standing animations.
Execute this standard opening rotation for maximum efficiency:
- Ride your Seikret within striking distance of the target monster.
- Perform a Mount Attack by leaping off the Seikret with a drawn weapon attack to initiate a knockdown.
- Once the monster is grounded, unleash your highest damage combo (e.g., Demon Dance for Dual Blades or Strong Charged Slash for Great Sword).
- When the monster enrages, disengage onto your Seikret, loop around environmental wedge beetles, and drop a hanging boulder trap onto its head.
Item Loadout and Consumable Prep
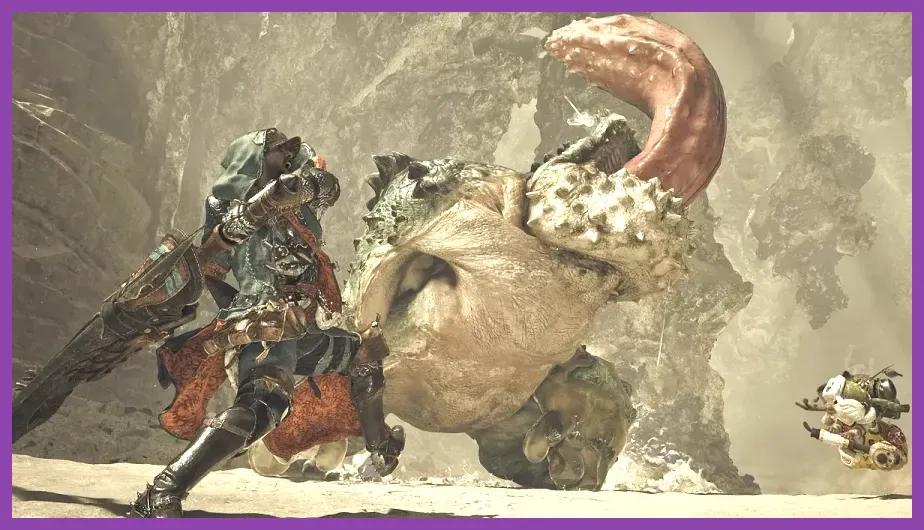
A true hunter is only as good as their pouch inventory. Never leave the base camp without a fully stocked item pouch optimized for sustained endurance. Your baseline item loadout must include 10 Mega Potions, 2 Max Potions, 10 Honey (for instant crafting mid-hunt), 3 Flash Pods, 1 Pitfall Trap, and 1 Shock Trap.
Visit the official Monster Hunter Wilds website to stay updated on upcoming title updates and seasonal events. Keeping your item pouch organized ensures you never fumble through radial menus when a wounded apex predator prepares its ultimate area-of-effect attack.